Braiding a Paracord belt involves using parachute cord, commonly known as Paracord, to create a durable and functional belt through various weaving techniques. Paracord is a lightweight, nylon cord originally used in the suspension lines of parachutes due to its strength and versatility. Crafting a Paracord belt is a popular DIY project that allows individuals to create personalized, durable, and stylish accessories.
Here’s a basic guide on how to braid a simple Paracord belt using the Cobra Knot, one of the fundamental weaving techniques:
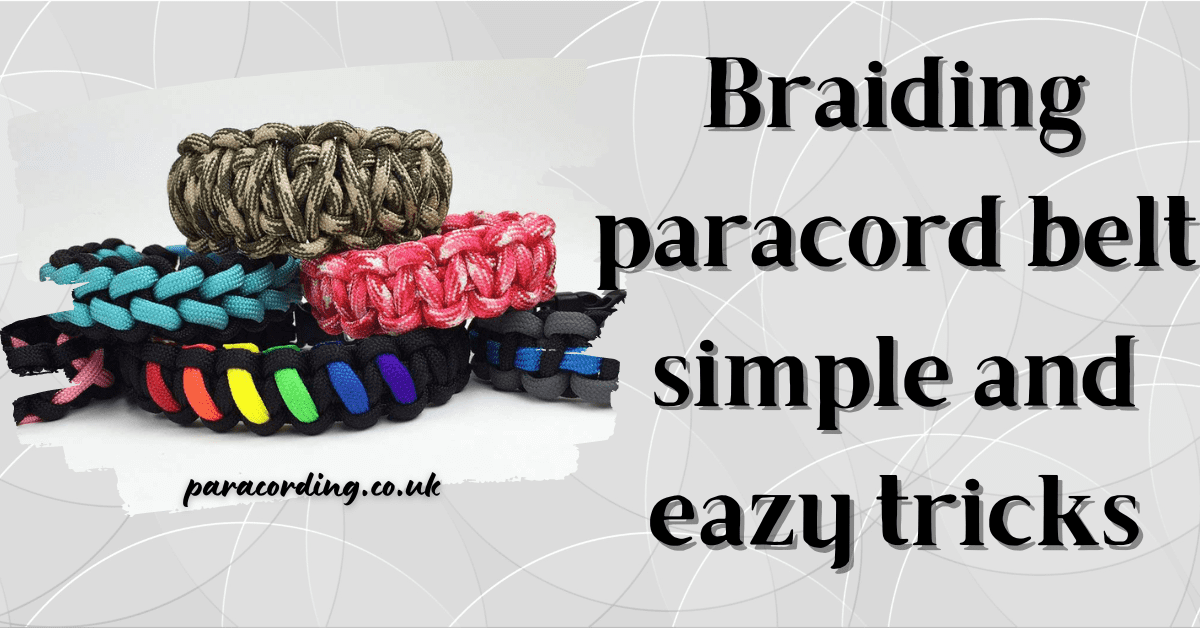
Certainly! Braiding a paracord belt can be a fun and practical project. Here’s a basic guide on how to make a simple paracord belt.
Braiding Materials For Paracord Belt:
- Paracord (550 type is commonly used)
- Belt buckle
- Scissors
- Lighter
Instructions to Braid Paracord Belt:
- Measure and Cut:
- Determine the length of the belt you want. A good starting point is to measure a belt you already have and add a few inches for the knots.
- Double this length, as you’ll be folding the cord in half for the braid.
- Cut two equal lengths of paracord.
- Fold and Attach the Buckle:
- Fold each piece of paracord in half.
- Insert the folded end through one side of the buckle and pull the loose ends through the loop, creating a cow hitch knot.
- Repeat for the other piece of paracord on the opposite side of the buckle.
- Secure the Buckle:
- Tie a simple overhand knot with all four loose ends, just below the buckle. This will secure the paracord in place.
- Start the Braid:
- Separate the four strands into two pairs.
- Take the right strand from the right pair and cross it over to the left pair.
- Take the left strand from the left pair and cross it over to the right pair.
- Continue the Braid:
- Repeat the process, crossing the right strand to the left pair and the left strand to the right pair.
- Tighten the knots as you go to keep the braid neat.
- Continue this pattern until you reach the desired length for your belt.
- End the Braid:
- Once you reach the desired length, untie the overhand knot at the end.
- Trim the excess paracord, leaving enough to tie a knot at the end.
- Attach the Second Half of the Buckle:
- Thread the loose ends through the second half of the buckle. Tie a secure knot, such as a square knot, to hold the buckle in place.
- Secure and Trim:
- If there are any loose ends, melt them slightly with a lighter and press them against the belt to secure.
Your paracord belt is now ready to use! Feel free to experiment with different colour combinations and knot patterns to create a unique and personalised design.